Those that spend a lot of time in the kitchen will know all too well that cooking appliances are far from perfect.
When it comes to ovens, they are by no means an exception to the rule and this fact also extends to the oven knobs attached to the cooker.
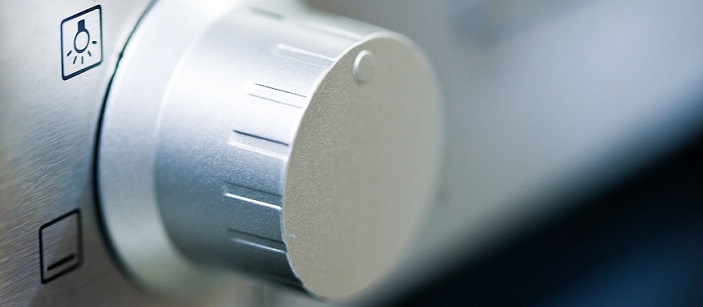
Many oven knobs have the temperature markers printed onto the dial itself. As such, the likelihood you may rub out some of the markings over time is pretty high.
That being said, just because your cooker knob is missing its markers doesn’t mean you have to lose your marbles. There are a couple of handy hacks that can help you get dialled up again.
Replacing the Numbers
Most ovens and cookers will have either a chrome, black or white front, with knobs of the same colour at the top of said oven.
A quick and easy albeit temporary workaround to this issue is to simply Google the make and model of your oven for an image of the cooker front. Assuming you can get a visible look at the dials, you can then proceed to mark on the key temperatures.
If you can’t locate a legible image, you may be able to find a usable depiction of the dial in the oven’s manual. While the images can vary from the real thing at times, it should give a decent idea of what temperature is marked where.
Replacing Numbers on Black Oven
For a white or chrome coloured oven front/knob, a black Sharpie is ideal; however, this can be a little more difficult if you have a black cooker. Try using a Tippex pen or a silver Sharpie.
If heat is a concern and you suspect that may be the reason behind your missing markings to begin with, it may be worth using heat-resistant paint – such as paint for ceramic tiles – or even nail polish.
If all else fails and you know you plan on replacing it, you may want to simply score in line markers over key temperatures with a sharp instrument as a means of keeping track.
While none of these solutions are ideal, they do provide a decent quick-fix that will see you covered for the interim until a replacement arrives.
Gauging Temperature
If you don’t have any imagery available and you really are stuck when it comes to what temperature marking goes where, all hope is not lost just yet – it’s time to go old school!
If your oven comes equipped with an oven thermometer, trial and error can get you where you need to be. Simply, turn the dial to where you roughly believe your most commonly used temperature is (e.g. 180), wait for the oven to heat up and check the thermometer.
After a handful of tweaks and retests, you should have a good idea what’s where and can mark accordingly using one of the methods above.
Replacing an Oven Knob Missing Markers
While the above techniques can be handy as a short-term stop-gap to keep your kitchen running, your oven cooking and your food the right side of cremation, your best bet is to order a replacement oven dial if your cooker knob is missing its numbers.
Luckily, you can replace a cooker knob with ease at Cooker Spare Parts. Simply head over to our Cooker Knob section, type in the make, locate the model you need and click the product you want to order – job done!
For more information on cooker knobs and replacement oven parts, drop us a line today on 02920 452 510 or click the button below to get in touch online.
Get in Touch